Whistle Pig Rye Whiskey process photos
Share
From Raw Distillery to Exquisite Painting - Whistle Pig Rye Whiskey
How it Starts - By Max Savaiko
Whistle Pig Whiskey is known as one of the best whiskeys in the world, thanks to its unique and well-crafted process. With Whistle Pig Rye it's not just the ingredients, but also the careful and fascinating painting process that turns it into an exquisite drink and painting. In this photo journey, we explore the painting process of Whistle Pig Boss Hog Whiskey to the final painted bottle.
Here are the process photos as I create the Whistle Pig Rye bottle painting limited edition whiskey. The painting process starts by selecting the perfect bottle for the whiskey. Each bottle is hand-selected and inspected for any imperfections. Then, the bottle is painted with a high-quality paint that is specially formulated for Whistle Pig Rye.
The paint is applied in several layers to create a smooth and even finish. Each bottle is carefully inspected after each layer of paint to ensure that it meets the high standards of the Whistle Pig distillery, Whistle Pig Rye, a luxury whiskey.
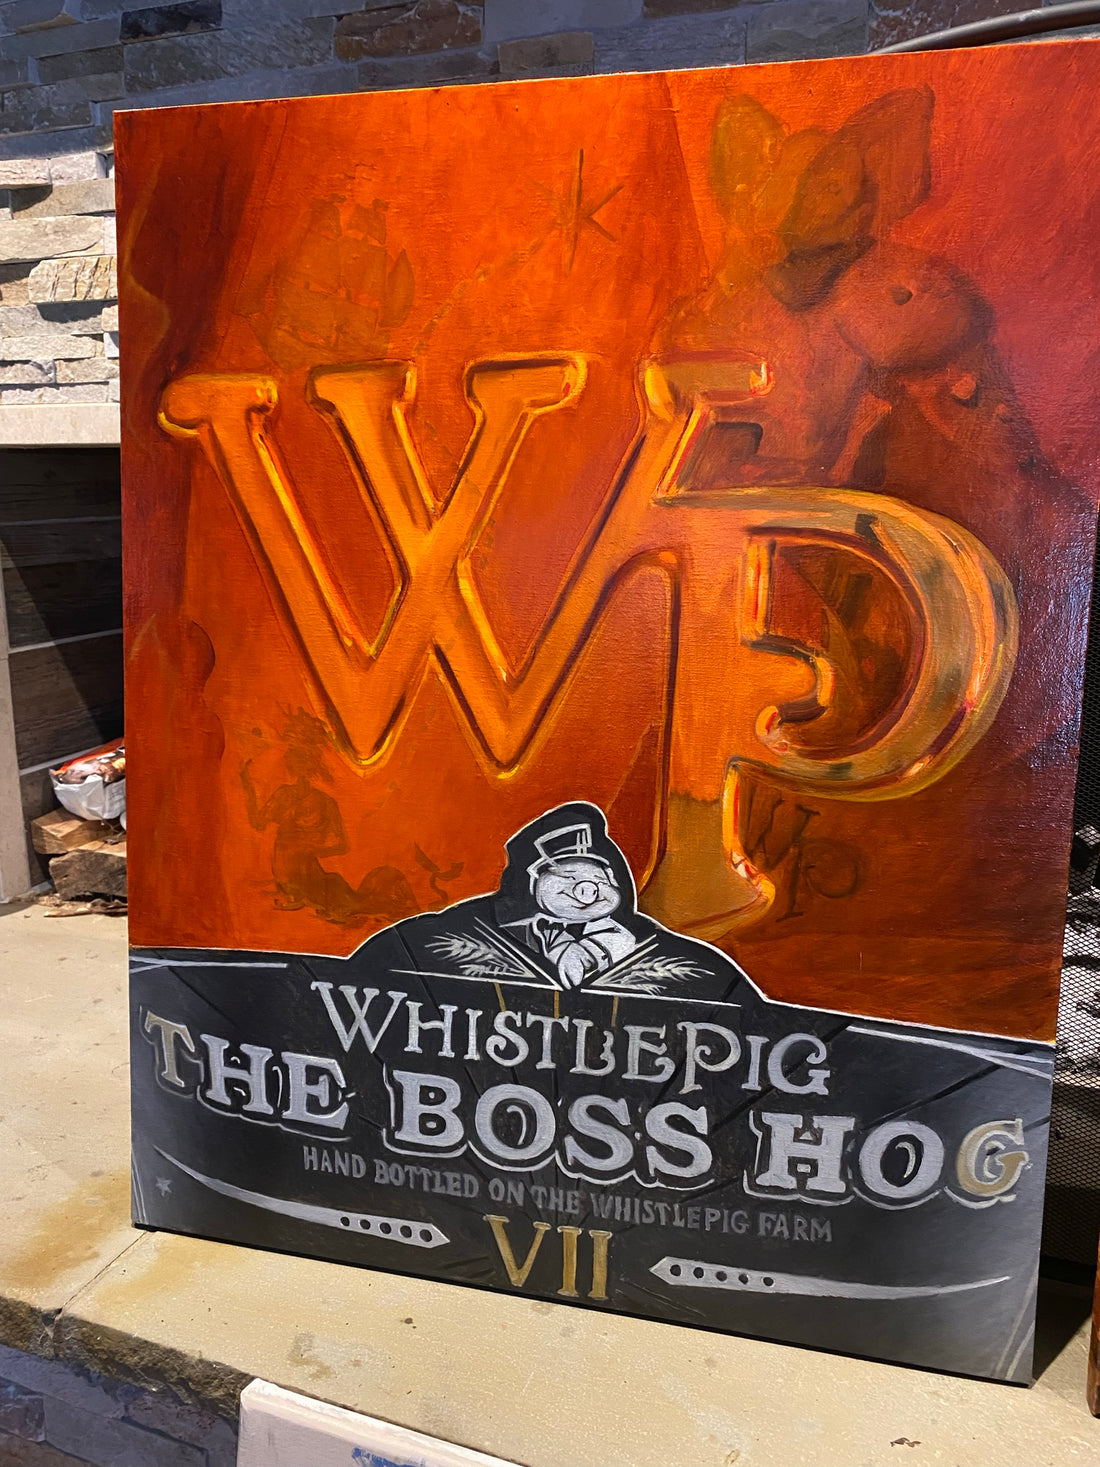
Block in the large shapes
Whistle Pig Rye has captivated whiskey aficionados with its rich flavors and luxurious branding. As an artist, translating this essence onto canvas can be both challenging and rewarding but requires precision. In this guide, we will delve into the expert techniques needed to paint the Whistle Pig Boss Hog Whiskey, ensuring the bottle’s intricacies are captured.
Before you even dip your brush into the paint, it's crucial to study the Whistle Pig Rye bottle meticulously. Its unique shape, the elegant label design, and the hues reflecting the whiskey's rich amber-colored liquid are elements you need to observe carefully.
Take photos from different angles and make preliminary sketches.
Preparation work
This will help you grasp the structural details and plan your composition carefully. The Boss Hog series, in particular, has ornate and distinctive features that should be captured with accuracy.
First, start with a rough sketch on your canvas. Use a light charcoal pencil for initial outlines so that you can make changes easily. Pay close attention to the proportion of the bottle. The neck, body, and base must be in harmony to make the painting realistic. Don’t rush this phase; ensuring your lines are precise will save you a lot of trouble later.
Next, you will want to block in the basic colors. Whistle Pig Rye has a distinctive deep amber hue, so blend your yellows, oranges, and browns until you get a matching shade. Use broad brush strokes to cover large areas, which will serve as your underpainting. This will also give depth to your subsequent layers of paint. Be gentle with your brush. maintain the integrity of your outlines.
Color Choices
Once you have the base colors down, start adding layers to build depth and realism. Focus on the shadows and highlights first because this will give the bottle its cylindrical and three-dimensional appearance. Understand the light source in your composition and paint the darker shades on the opposite side. Gradually blend these into the mid-tones without leaving any harsh lines.
The label of the Whistle Pig Rye is another challenging aspect. Its gold foiling and intricate designs need to be rendered with care. Use a fine-tipped brush for detailed work and apply thin layers of paint to build up texture without obscuring the details. Take your time with this part because the label is the focal point of the bottle.
Painting Video
To capture the glassy texture of the bottle, make use of glazing techniques. Mix a transparent medium with your paint to create a glossy, glass-like appearance. Apply this in thin layers where the light naturally hits the bottle to simulate reflection and transparency. Don’t overdo it; subtlety is key in mimicking glass.
Lastly, once you’re happy with the main features, go back and add the small details that will bring your painting to life. These could be the fine lettering on the label, small bubbles, or imperfections in the glass. Details take your painting from good to great, so make sure to spend adequate time refining them. Allow your painting to dry completely before framing.
Painting the Whistle Pig Boss Hog Whiskey is a labor of love, requiring patience and an eye for detail. Follow these steps and you will be able to capture the essence of Whistle Pig Rye on canvas, an addition that will certainly be a conversation starter in any art collection.
Painting near completion
Painting the Whistle Pig Boss Hog Whiskey is a labor of love, requiring patience and an eye for detail. Follow these steps and you will be able to capture the essence of Whistle Pig Rye on canvas, an addition that will certainly be a conversation starter in any art collection.
More Art to Enjoy!
Be sure to visit my new Fine Art America website. My art now comes in mugs, rugs, bottles, carpets, curtains, metal, canvas and paper framed prints.